This post is also available in: עברית (Hebrew)
If there was an academic degree in that focuses on vegan ice creams, there’s a good chance I’d be getting my diploma now. My biggest weakness is sweets, and where I live summer is the real deal, which makes ice cream a necessity. So I researched the whole vegan ice cream arena in depth and with time I learned to make all kinds of them. Problem is, the vegan ice cream seems to always come with a “but” associated to it: you can make banana based ice cream, which is nutrient dense and has a nice texture, but it tastes like, well, banana.. You can make coconut cream based ice cream, which turn out creamy and great (like this blackberry ice cream here), but many people don’t fancy the coconutish taste, and some are allergic to it altogether. You can make chickpea brine based ice cream, but these require a whole lot of sugar added to them, and besides, chickpea brine? really? There are of course other sorts of other vegan ice creams, but they all seem to come with questionable ingredients or sophisticated methods of preparation, and with a “but” associated to them.
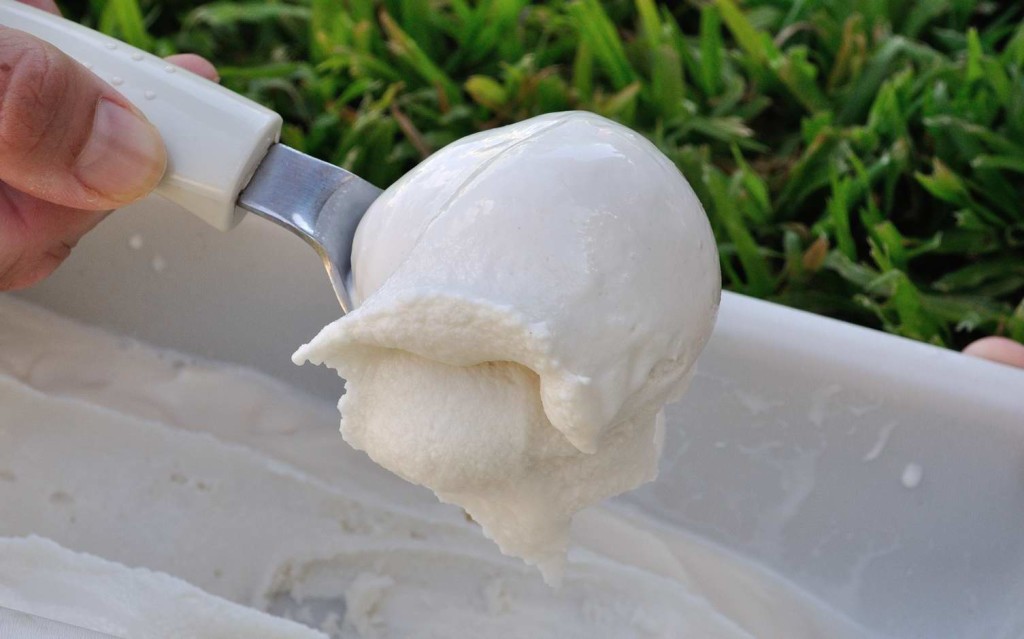
And then, there’s this one I found out about, which is nuts based, and comes “but” free. It is so tasty, creamy, with a perfect texture, so that when you serve it there’s no need to name it “vegan ice cream”, you can refer to it as just ice cream. It is perfect. It is so good, so that i’m willing to guarantee that almost no one can tell there’s no dairy in it. This ice cream has been taste tested by many non-vegan family and friends of mine, and general enthusiasm was noted from all.
The coolest thing about this ice cream is that it requires only 4 ingredients (nuts, water, sweetener, and salt), all of which you probably have at home at the moment, and it does not require an ice cream maker! Yep, that’s all you’r going to need for this magic we are going to create. Understood it doesn’t sound reasonable that that’s all you need, but go, give it a try, you’ll be surprised how good it is.
The original recipe is adapted from here, and the quantities provided there are: 1 cup pistachios, 1 and 2/3 cups water, 1/2 a cup sugar and 1/2 a tea spoon salt. I had many experiments I wanted to do with it, so I did, and here are my findings:
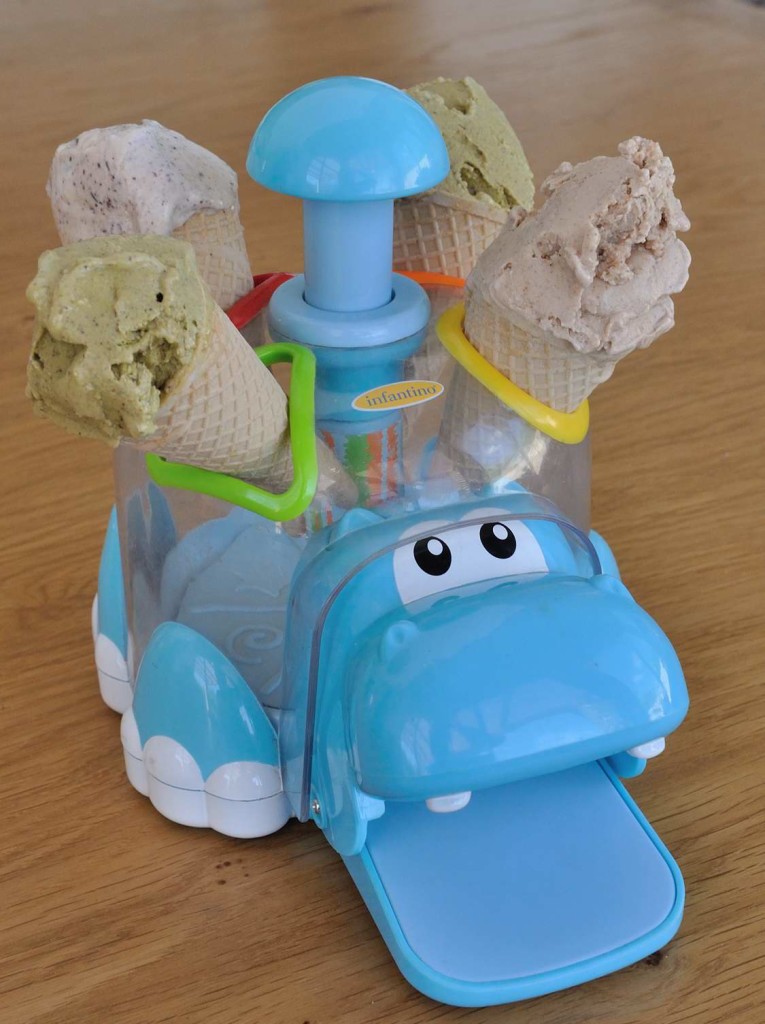
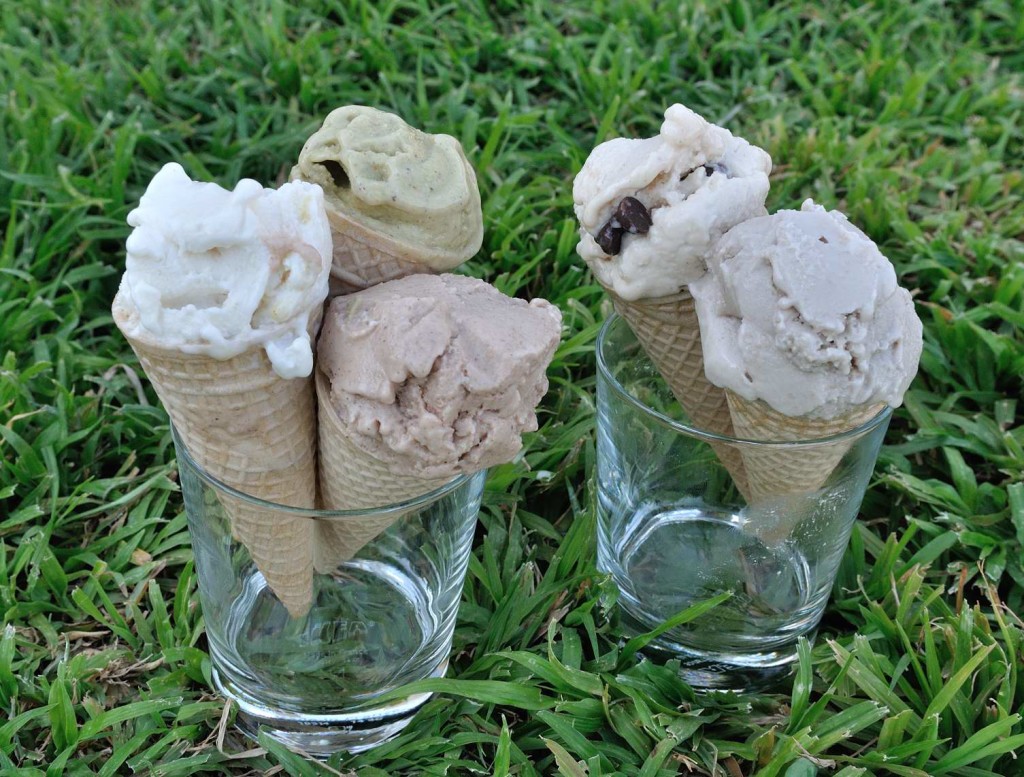
Can I sub with different nuts? Sure you can! I tried and liked: pistachios (our favorite), macadamia (has an amazing gentle vanilla flavor to it), pecans (great), sunflower seeds (adds a bit of saltiness to the sweetness which is awesome), hazelnuts (real good). I tried and wasn’t happy about the result: surprisingly, almonds. I didn’t try but assume would work great: cashews. *The cost of this ice cream varies deeply obviously, as the sunflower seeds are ways cheaper than the macadamia nuts for example.
Can I use sweetener that is less evil than sugar? Sure you can! I tried with both agave syrup as well as maple syrup and they work great. Note that if you are going to use this liquid form of sweetener you’ll need to use slightly less than 1/2 a cup, and additionally reduce the water used to a 1 and 1/3 cups (instead of 1 and 2/3 cups).
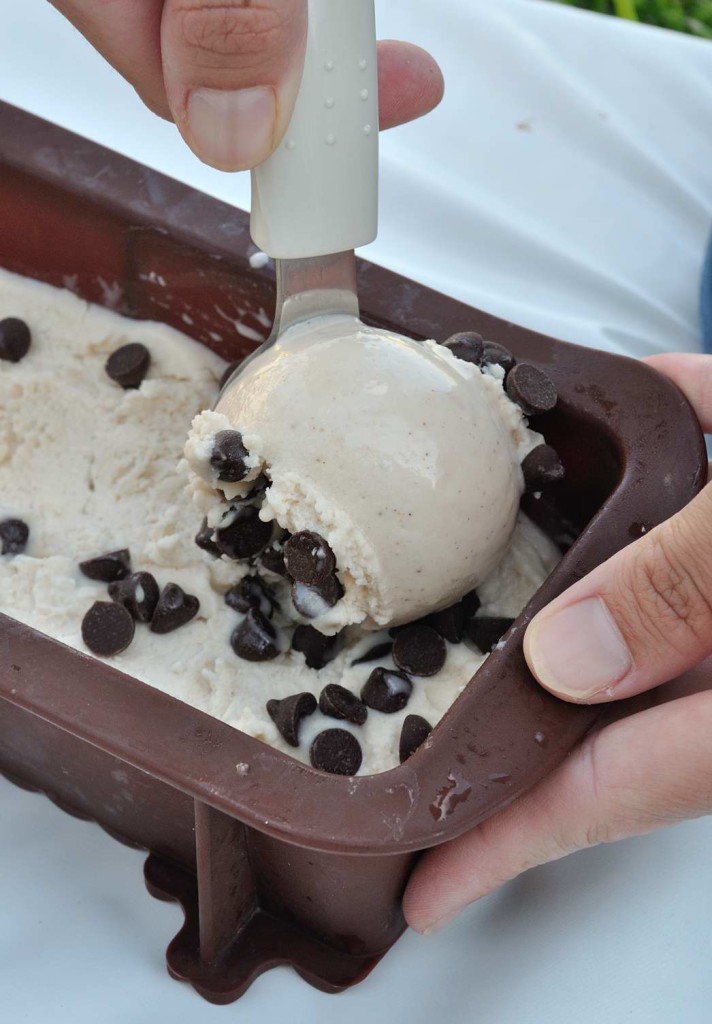
Can I use add ins? Sure you can! Truth is this ice cream requires no additions as it is rich, creamy and sweet as it is, but if you want to go wild, go ahead: in the second blend (when you blend the frozen ice cream cubes) add whatever you wish (chocolate chips, graham crackers, cookie dough, etc.).
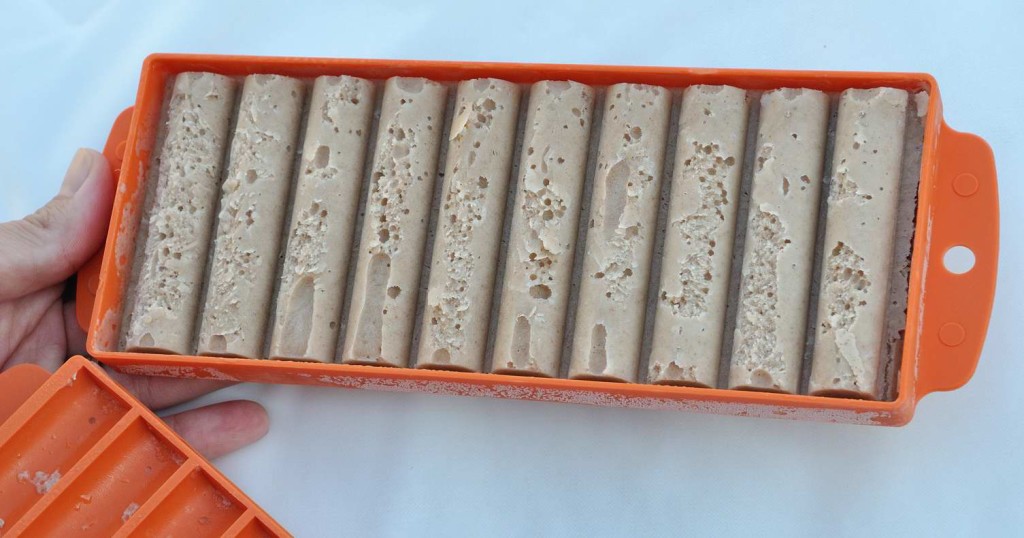
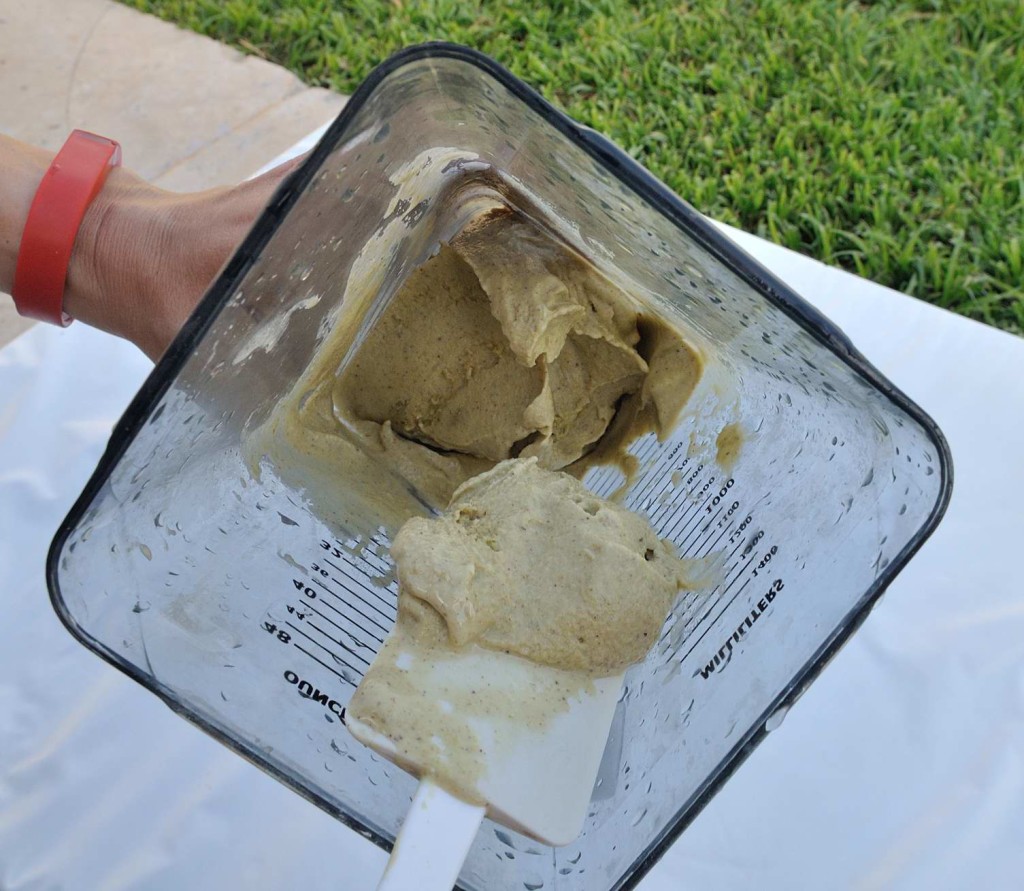
So.. to the instructions: Blend all ingredients until they form a smooth liquid. Pour the liquid into muffin molds (you can use ice cube trays or silicon muffin molds, just make sure you use molds that will make it easy for you to quickly pull the frozen ice cream cubes out of them later on). Place in the freezer and once frozen (around 3 hours), take the ice cream cubes out of the molds and blend them once more. That’s it. Important note here about this second blend: use a blender only if you own a vitamix or a blendtech or any other high speed blender that has an option to push the cubes into the blades while running. If you don’t own one (get one, it’s worth it!), not to worry, I made sure this can also be prepared without: instead of blender though use a food processor, the knives will do the work. If you are using a food processor I’d recommend processing in 2 batches, that is take only half of the cubes, process and freeze, then take the other half, process and freeze, as you don’t want to burn your food processor with all of the frozen cubes together.
Either way, it is important to work quickly while blending as the ice cream melts quickly.
I find that it is best when blended, then placed back in the freezer for 45 more minutes and only then served.
You can also eat it straight after blending but it will be more of a soft serve this way.
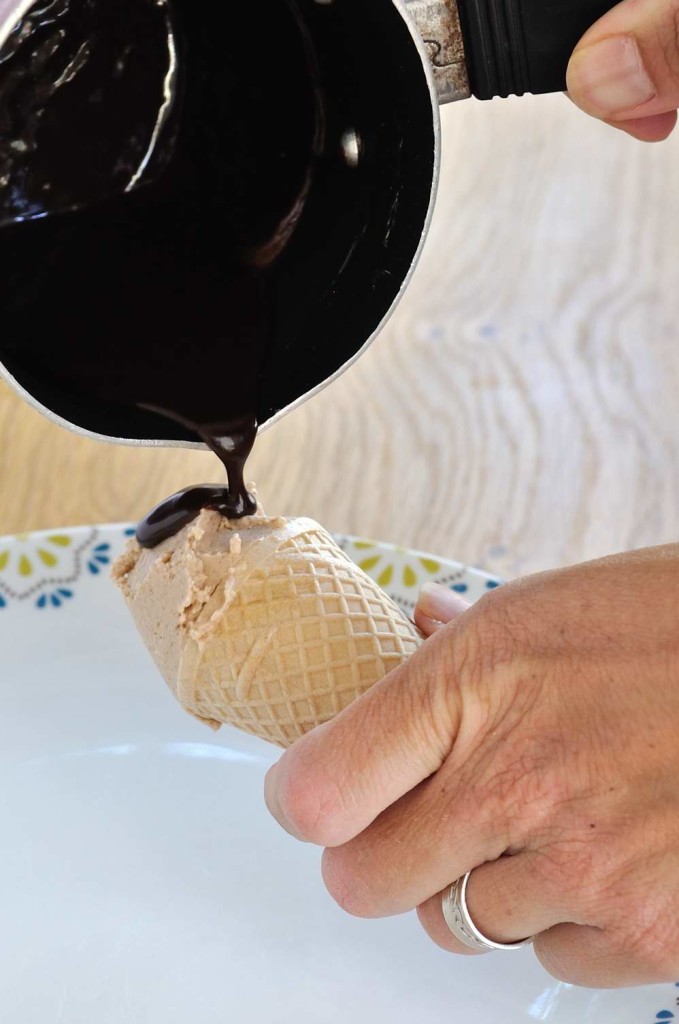
This quantity is enough for 4 ice cream cones, or for 2 large bowl servings, or for one person standing and licking the spatula straight from the blender and every time someone passes through the kitchen they turn around and pretend as if they are washing the dishes (just saying its an option, I don’t know who would do that 🙂 ).
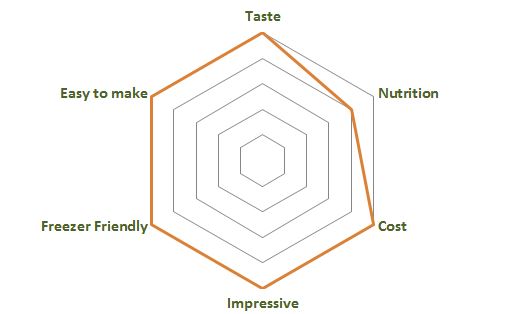
The Dishometer Rating:
And here is the recipe again for your reference:
- 1⅔ cups water
- 1 cup nuts of your choice (options and recommendations up in the post)
- ½ cup sugar (or sub with agave nectar or maple syrup - use slightly less than ½ cup if so)
- ½ tea spoon salt
- Blend all ingredients until they form a smooth liquid.
- Pour the liquid into muffin molds (you can use ice cube trays or silicon muffin molds, just make sure you use molds that will make it easy for you to quickly pull the frozen ice cream cubes out of them later on).
- Place in the freezer and once frozen (it takes around 3 hours), take the ice cream cubes out of the molds and blend them once more.
- * Important note here about this second blend: use a blender only if you own a Vitamix or any other high speed blender that has an option to push the cubes into the blades while running. If you don't own one (get one, it's worth it!), not to worry, I made sure this can also be prepared without: instead of blender though use a food processor, the knives will do the work. If you are using a food processor I'd recommend processing in 2 batches, that is take only half of the cubes, process and freeze, then take the other half, process and freeze, as you don't want to burn your food processor with all of the frozen cubes together.
- * Serve right away as a soft serve, or freeze for another 45 minutes for a perfect ice cream texture.
P.S.
If you liked this and want to be updated with new recipes, Like VeganHightechMom on Facebook or register to get updates via email (This is mostly recommended as it is the only way to ensure you’ll receive the recipes. And check your spam or “Promotions” tabs, as these email might end up there sometimes).
Moran

7 תגובות
WOW!!
I bet you can add it to a ice cream maker after the first blend and treat it like any ice cream mix. I will have to try it as we have an ice cream maker. Would be nice to give treat that is fairly health to the kids.
I bet you can, potentially would even be creamier. Sounds awesome!
Do share how it turned out 🙂
הצעת ייעול:אפשר לקנות אגוזים או שקדים טחונים למשחה ואז הגלידה יוצאת ממש חלקה.
Do you soak the nuts ahead- like cashews for cashew milk?
You could, it helps the blending so if your blender is not the strongest probably better, and it is recommended nutritionally, yet honestly I usually don’t..
Fabulous pictures.
And it’s true. Ice cream is so necessary during Israeli summers.
When we make blender ice cream, we also put it in the freezer for 45 minutes or so. We’ve found it’s best to pre-portion the “scoops”. Makes it easier to serve right away out of the freezer.