This post is also available in: עברית (Hebrew)
She: “Mommy, guess what I ate yesterday at grandma’s”.
Me: (to myself: I suppose a candy, you wouldn’t be so exited about a piece of kohlrabi, would you?) “what, sweetie?”
She: “Bite sized ice-cream!”
Me: (to myself: great, now I have to find a tasty vegan way to mimic this at home) “Do you want us to make such at home also?”
She: “Yes!”
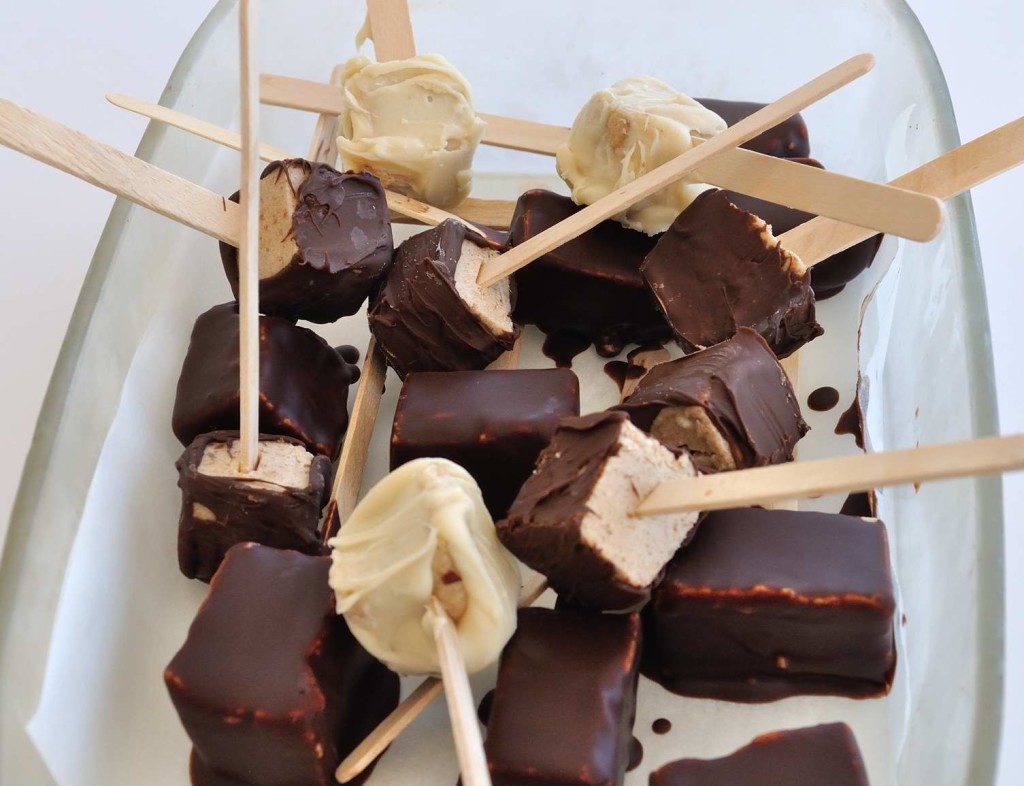
OK now, so I need to come up with a recipe that would beat the store bought processed, full of sugar ice-cream bites, that will also be vegan, and should resemble what she ate there as much as possible. This recipe was inspired by this one. These bite sized ice-cream require a few stages of preparations to be ready, as the coconut cream needs to stay in the fridge for at least 12 hours (so that the fats will separate from the liquids), then the ice-cream needs to seat in the freezer for a few hours (and preferably over night) to freeze thoroughly so it won’t melt when it touches the chocolate, then the chocolate covered bites need to harden in the freezer (about an hour) so when we’ll give it a bite it will be crunchy on the outside, yet sweet and soft vanilla on the inside. So, a few stages, but did I mention at the end of them we’ll have vegan chocolate covered bite sized ice-cream, without sugar, from a minimal list of ingredients, which when we’ll give it a bite it will be crunchy on the outside, yet sweet and soft vanilla on the inside?!
I got some pictures so we can review the simple process:
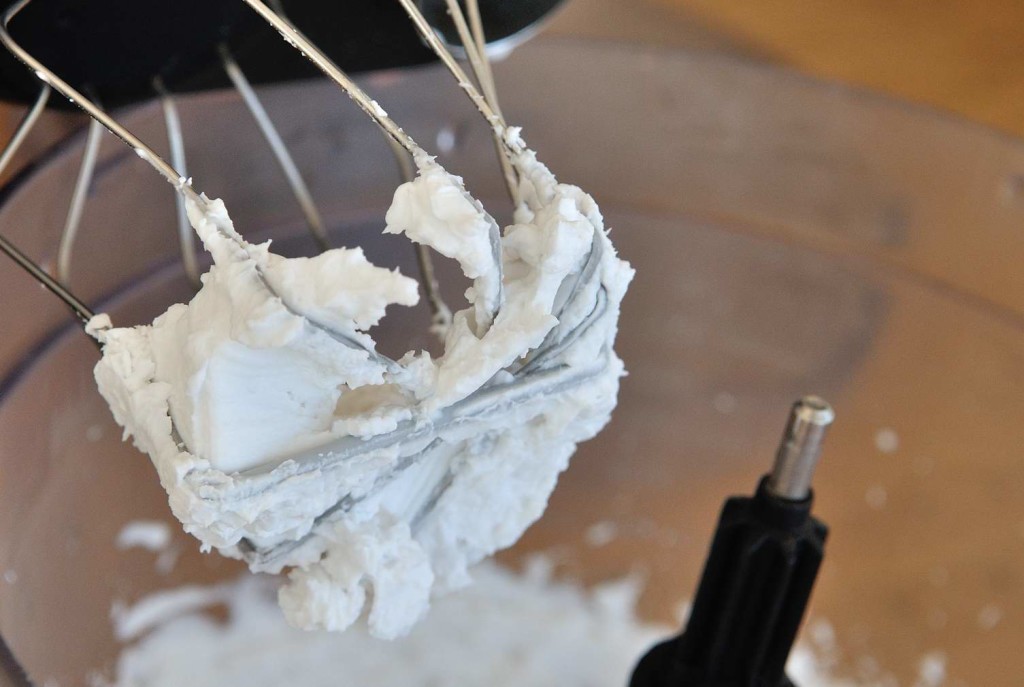
The coconut cream should be left overnight (or longer) in the fridge, preferably in the back of it, where its usually colder than on the side of the door. It’s important to use a coconut cream that does not contain guar gum or xantan gum as these will not let the creamy part separate from the liquids. Spoon out the creamy part from the coconut cream container, until you reach the liquids (keep those for later). The brand that I use (Aroy-D) produces about half a cup of cream, more or less (it varies with temperature and with the time you left it in the fridge). Place this cream in your mixer bowl and whip until you have a solid whipped cream (takes about 3 minutes).
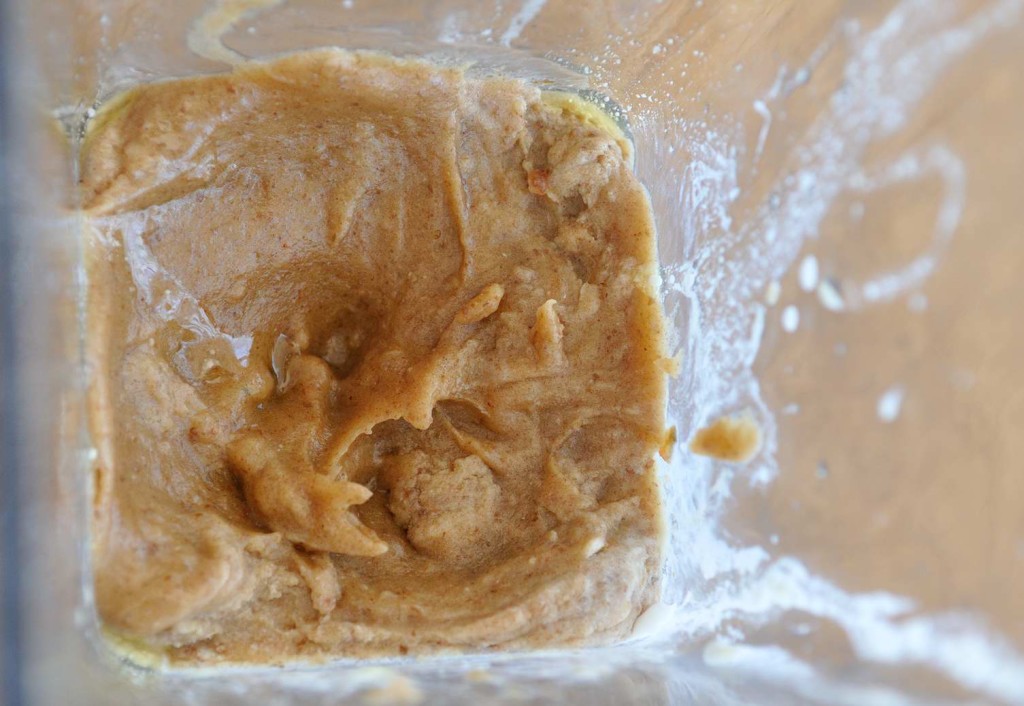
In parallel you can start preparing the dates mixture: melt 1/3 of a cup cocoa butter over a Bain-marie (or simply in a small cup on top of a pot with boiling water). When the cocoa butter melted place it in your blender along with 10 pitted majhul dates, 1/4 of a cup from the coconut liquids (that you saved from before) and 2 tea spoons of vanilla extract, and blend it thoroughly until it combines and forms a thick paste.
Pour the dates paste into the coconut whipped cream bowl, and mix thoroughly to combine.
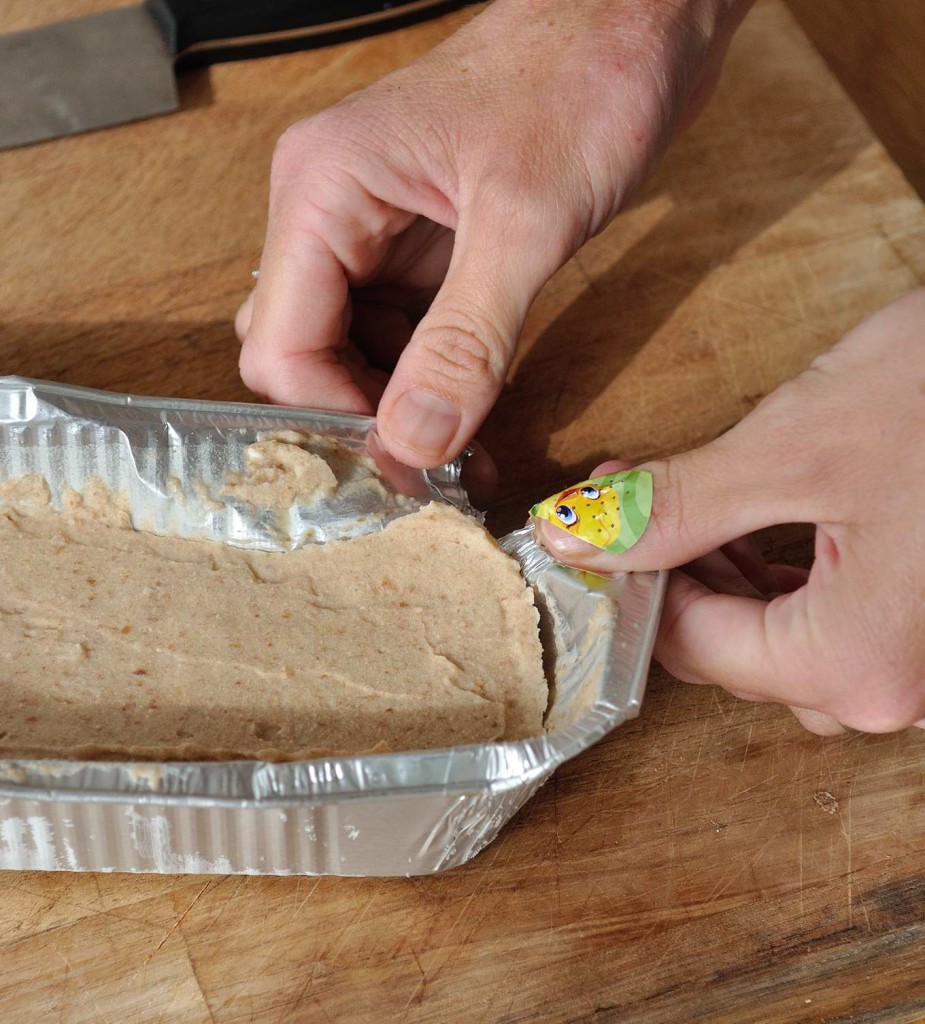
Pour the mixture into a paper/aluminum loaf pan and place in the freezer over night. You could use a non-disposable loaf pan with a baking sheet, but I found it is easiest to use the disposable ones as you can easily cut through them later with a knife to create the ice-cream bites.
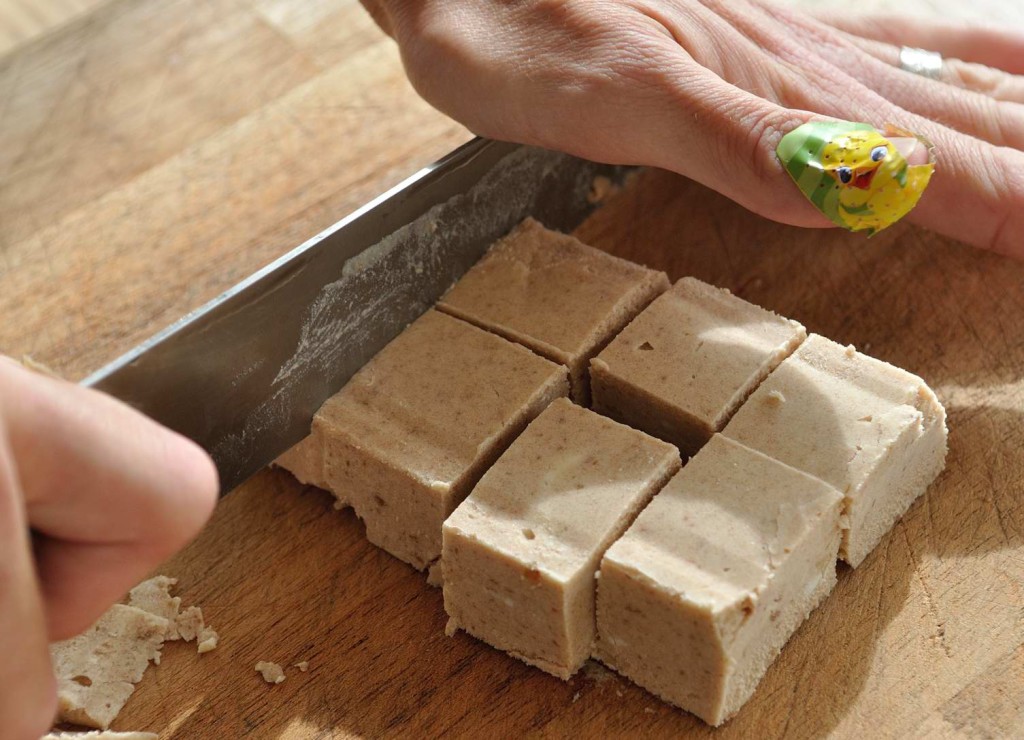
After the ice-cream in the loaf pan has frozen, take it out, cut into bite-size pieces, and place back in the freezer. It is important to work quickly here so the bites won’t melt and keep their nice shape. The best thing to do here is freeze an empty plate or a pan in advance, take it out as you cut the bites, put the cut bites on it, and place back in the freezer.
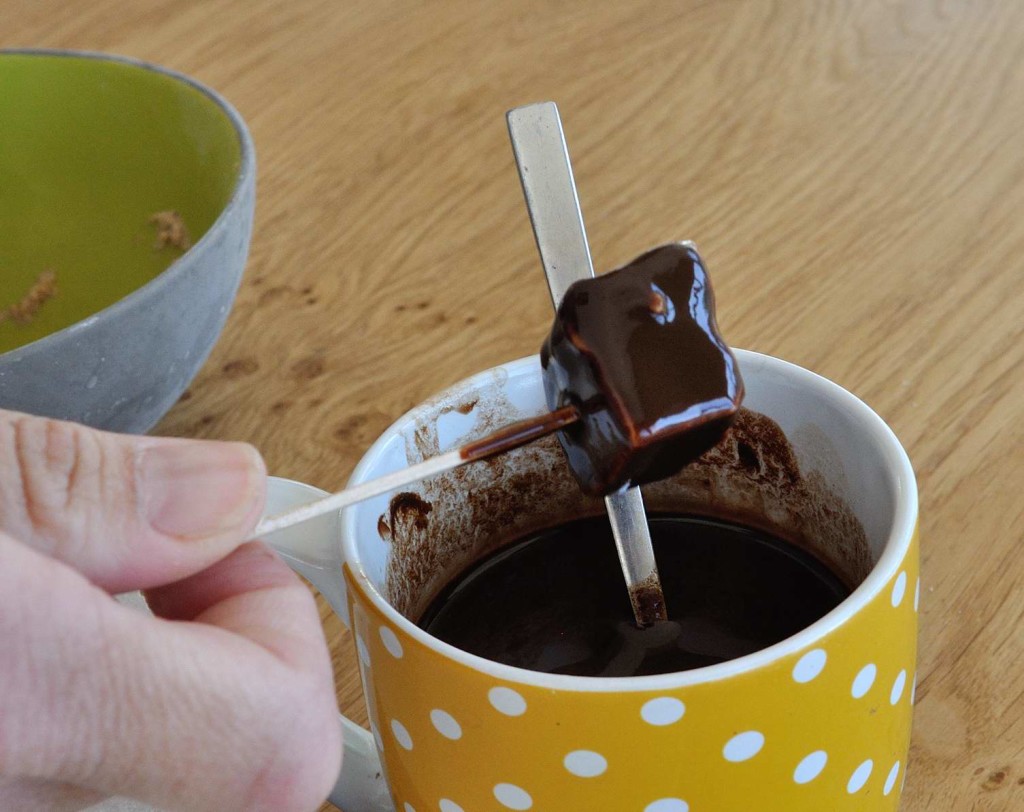
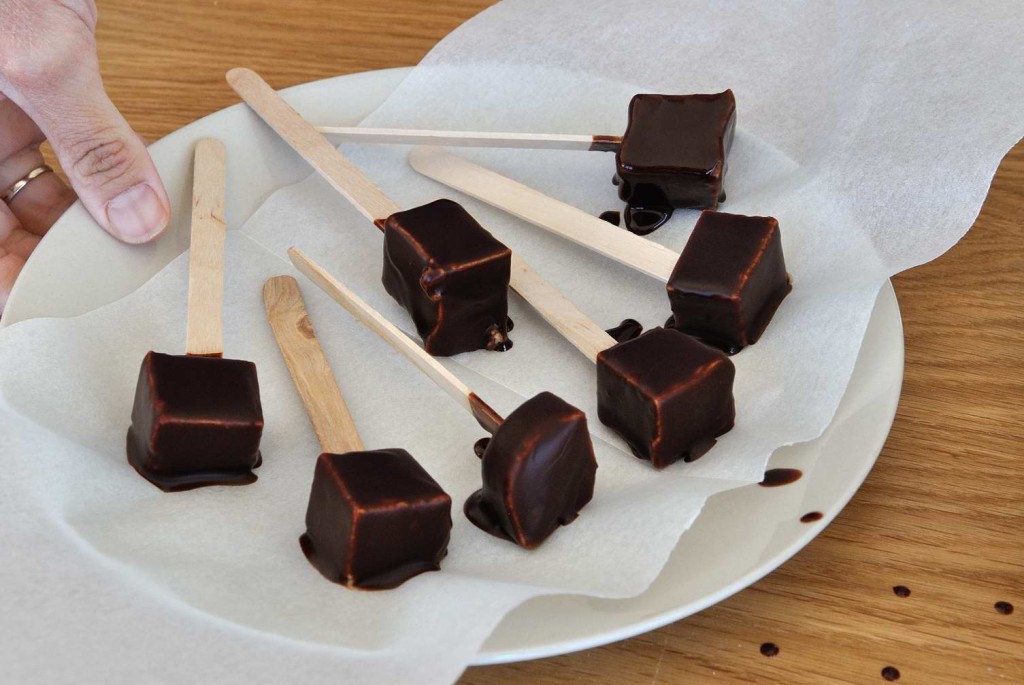
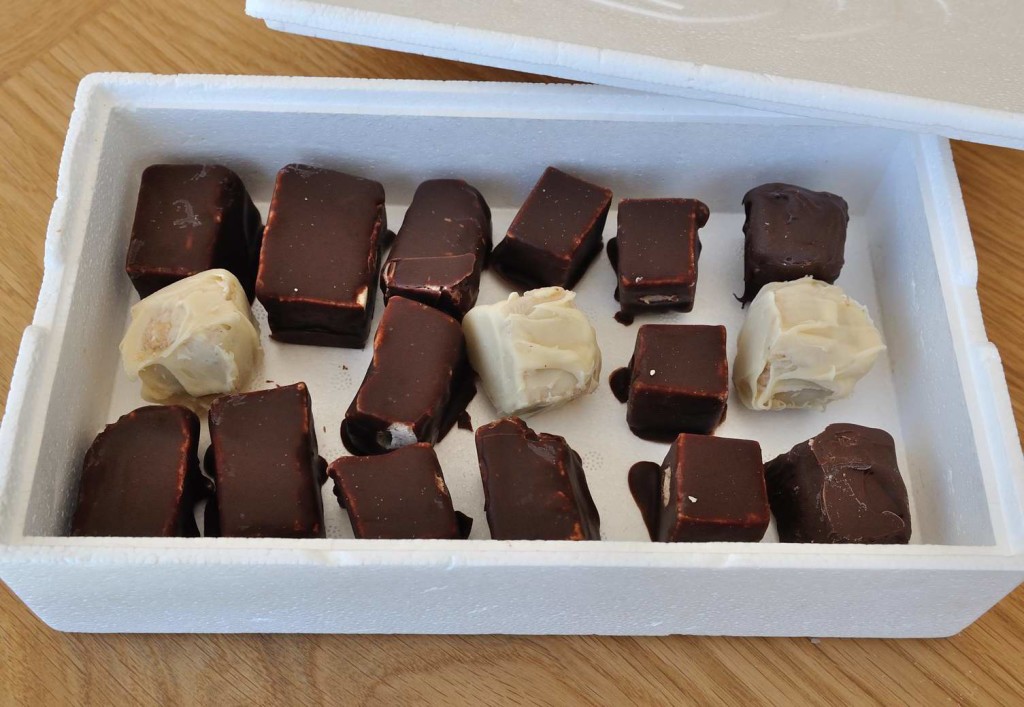
While the bites are waiting in the freezer, make your chocolate coating. I experimented with 3 options: regular (vegan) commercial chocolate chips, white (vegan) commercial chocolate chips, and home made chocolate. Aside from the price (home made chocolate ingredients make it a more expensive alternative), the home made chocolate is by far the best option of all: it’s far less sweet than the commercial one, which is a good thing here as the ice-cream itself is very sweet so it gives a good balance, it is much more runny which makes it perfect for our coating as it hardens on the ice-cream bites in a second, and it is way healthier (no weird ingredients and no huge amounts of processed sugar). Anyway, take the option you chose and melt it in the same way described above. When everything has melted and is runny, take the ice-cream bites out of the freezer and coat them. It is important to work quickly here (as before) in order to keep the nice bite size shape. Take each bite, stick an ice-cream stick in to each of them, and dip it quickly in the chocolate. Place in a pan and put back in the freezer.
One comment about how I measure the ingredients: I use cocoa butter and cocoa mass that comes in coin shapes, so when I write 1/4 or 1/3 a cup I mean measured with the coins before melting.
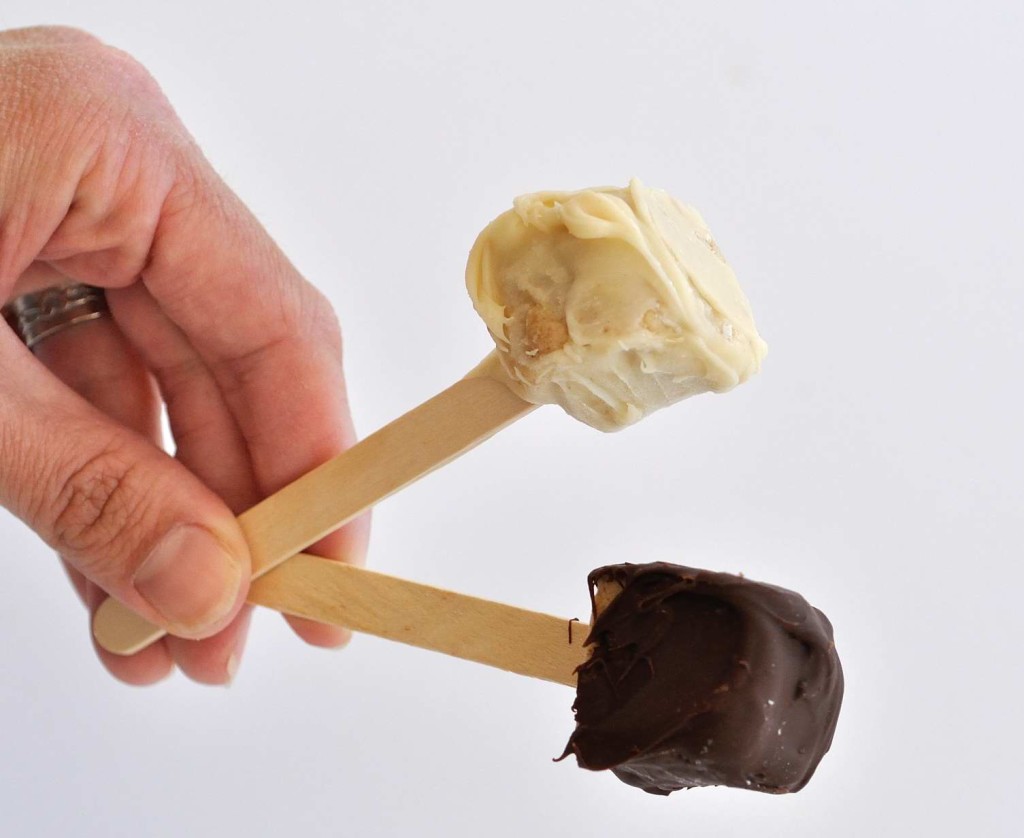
When ready (anytime from an hour later), you can either enjoy these as is, on a stick (I have yet to see a child, or a grown p for that matter, that refuses ice-cream on a stick), or remove the sticks and place in a box/plate.
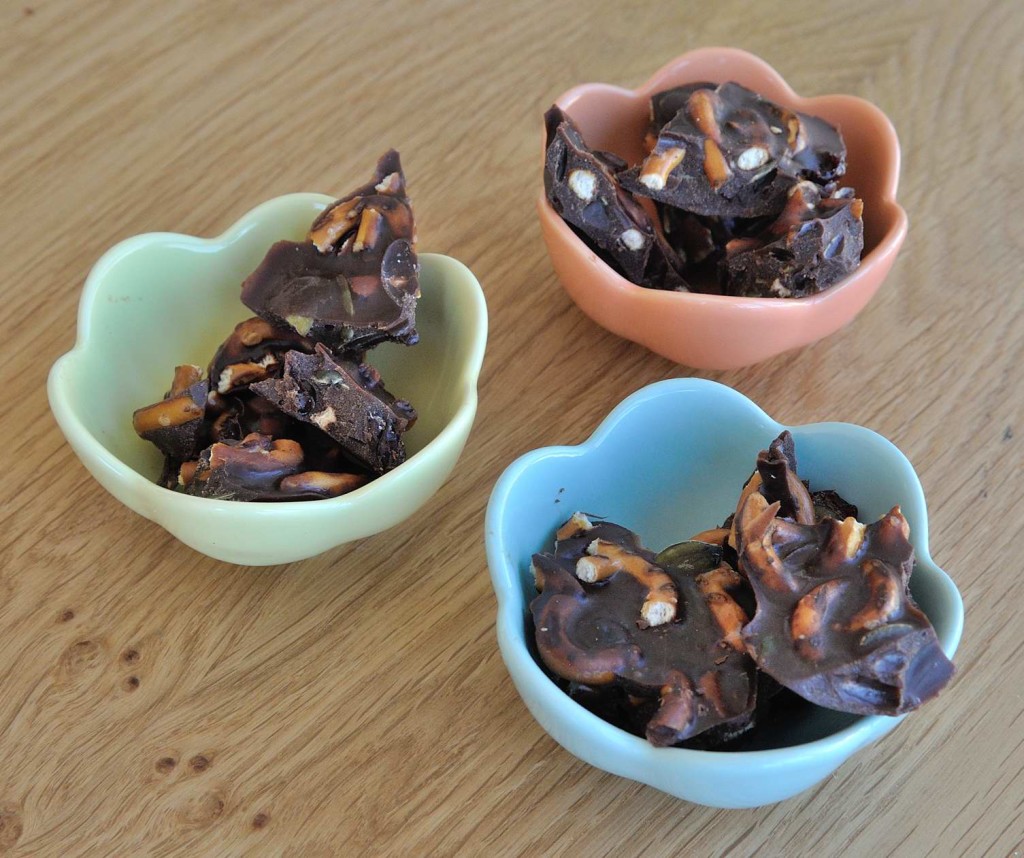
By the way, I had leftovers from the home made chocolate I used for the coating, so I made these.
And last note for today, one that made me laugh: while I was writing this post, I noticed my computer suddenly disconnected from the WiFi, so I asked my husband whether he was “playing” with the electricity. He wasn’t so we checked and saw the entire neighborhood was in a blackout. Then I told him “lucky I quickly used copy-paste into my Evernote when I saw the computer disconnected from internet”, and so my 3 year old asks: “which paste? the one I like?” 🙂 On weekends we eat toast with what we generally call paste, which is made of one table spoon sesame paste, one table spoon almond paste, one tea spoon date paste.
This post was linked up to Gluten Free Fridays.
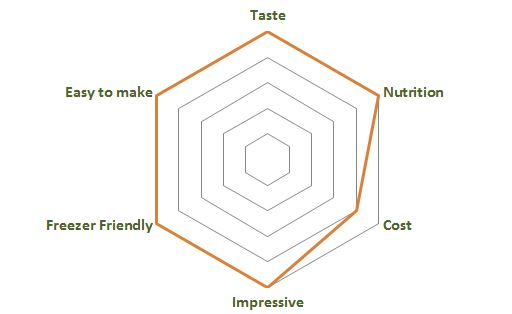
The Dishometer Rating:
- For the ice-cream:
- One package of 500 ml coconut cream (I use Aroy-D)
- 10 pitted majhul dates (about a cup)
- ⅓ cup cocoa butter
- 2 tea spoons vanilla extract
- For the chocolate coating:
- One cup chocolate chips, or one cup white chocolate chips, or home made chocolate: ½ a cup cocoa butter, ¼ cup cocoa mass, ¼ cup maple syrup
- * For even more detailed instructions along with pictures read up in the post
- Place the coconut milk in the fridge at least over night (and preferably even more).
- Take the coconut milk out of the fridge and spoon out the creamy part (produces about half a cup) into your mixing bowl. Keep the liquids (turns out about 1 and ¼ a cup of liquid) for later.
- Whip the coconut cream until it forms a solid whipped cream (takes about 3 minutes).
- In parallel, melt ⅓ of a cup cocoa butter (using a Bain-marie or simply in a cup over a pot with boiling water). When the cocoa butter has melted place it in your blender along with the dates (10), ¼ cup of the coconut liquids you kept from before, and 2 tea spoons of vanilla extract.
- Blend thoroughly until it mixes well and forms a thick paste.
- Fold the paste into the whipped cream, and mix thoroughly to combine.
- Pour the mixture into a disposable loaf pan and place in the freezer over night.
- The next day, take out and cut the ice cream into bite size pieces, and place back in the freezer.
- Prepare the coating:
- Melt either the commercial chocolate or the home made one's ingredients (1/2 a cup cocoa butter, ¼ cup cocoa mass, ¼ cup maple syrup). Give the chocolate syrup a few minutes to cool, then take the ice-cream bites out of the freezer, push a stick into each of them' dip it in the chocolate syrup and place back into the freezer.
- Wait an hour (or more as needed), then serve as is, or take the sticks out.
If you liked this and want to be updated with new recipes, Like VeganHightechMom on Facebook or register to get updates via email (This is mostly recommended as it is the only way to ensure you’ll receive the recipes. And check your spam or “Promotions” tabs, as these email might end up there sometimes).
Moran
And share it with someone who’ll find it useful 🙂


1 תגובה
These are so cute! I love it!